So, you’ve taken a bunch of beautiful photos of your vacation. Now what? The next step is to edit them so that they look just as glorious as the actual scene looked in real life.
Unfortunately, cameras and lenses don’t always interpret images in the same ways as our eyes. We see things one way, and cameras can often see them in quite another.
The editing and post-processing aspect of taking photos is where you reconcile the two. It’s your chance to ensure that the photos that you have actually represent your memories of the real event.
In many cases, post-processing involves removing annoying artifacts from photos, such as red-eye and so on. But other times, it is much more nuanced, such as making the stars in night shots appear brighter, or adjusting the colors so that they more accurately reflect what you saw during the breathtaking sunset.
Here are some travel photo editing and processing tips that you need to know.
Learn To Crop Your Images
Taking the perfect shot at any given moment on vacation is challenging because you don’t always have much time to set up your equipment or react. For this reason, learning how to crop is helpful.
Let’s say that you’re hiking through the mountains and you suddenly spot an eagle soaring above. You quickly whip out your camera and get a few shots of the animal before it flies off.
In this situation, your main concern is taking a non-blurry photo of the eagle itself. You want to make sure that you capture its beauty. But at the same time, getting the perfect shot also requires achieving balance in the background. Cropping, therefore, can achieve this, especially if the subject is off-center.
Most cropping tools come with a 3 by 3 grid that allows you to apply the rule of threes to your images. This way, you can see whether your photos actually obey this aesthetic rule or not before you change them.
Level Your Horizons
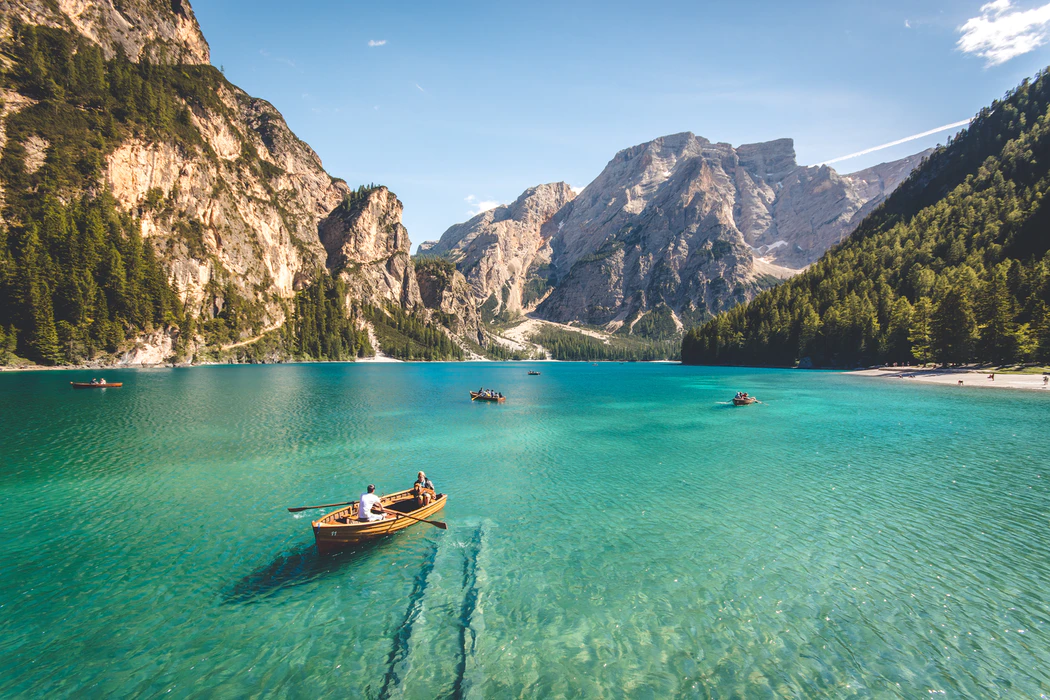
Travel photographers tend to take a lot of landscape photos. But, as before, there is a right and a wrong way to do this. As a general rule, you should always ensure that you level your horizons in your images. They should be horizontal and perpendicular to the edges of the photograph. Veering slightly off angle just looks bad and unprofessional – as though you weren’t holding the camera properly.
Naturally, not all your photos will be completely level if you are taking pictures with a smartphone or camera without a tripod, but that’s okay; many photo editing software suites will automatically adjust them for you.
Please note, however, that if you rotate a photo, you will lose some of the periphery if you want it to remain a regular square or oblong. The more rotation, the more trimming required.
Use Vignettes
If you’re a fan of abstract photography, you might want to try vignetting your photos by making parts of them lighter or darker. Here, the idea isn’t to make photos as realistic as possible. Instead, it’s to highlight the subject and bring it to the forefront.
Suppose, for instance, you took some photos of lightning striking an island out to sea. Usually, images like this appear oversaturated because of the sheer brightness of the lightning. However, using vignette tools allows you to enhance and refine the colors of the lightning while darkening the surrounding environment at the same time.
Change The Contrast
If you’re feeling really confident about your travel photo editing skills, you can also experiment with adjusting the contrast.
Contrast affects the difference between light and dark parts of the image. In many situations, it helps to increase the impact of a photo, bringing to life new details that you might miss if you kept the contrast at a regular level.
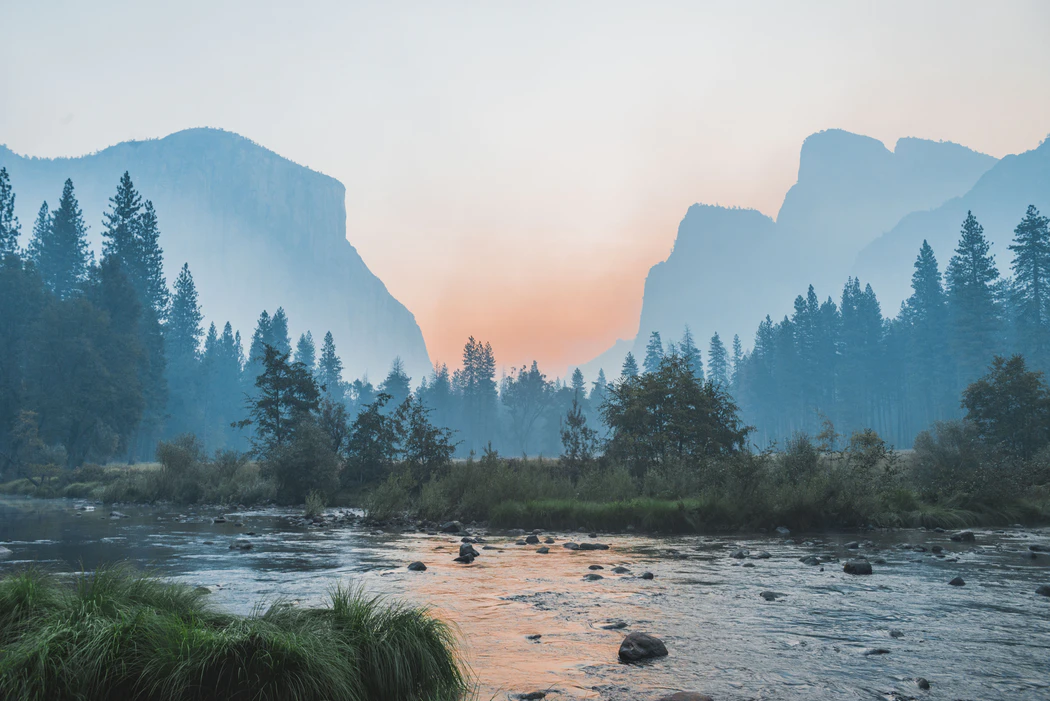
Suppose, for instance, you want to capture an image of the sun rising above a mountaintop. If you do this the traditional way, you’ll get a lot of glare. But if you create more contrast, you’ll be able to more dramatically highlight the illuminated section of the mountain against the rest of the yet-to-be-lit landscape.
Adjust Colors

Lastly, you might want to start experimenting with adjusting colors. Doing this affects how warm or cool the image looks, depending on your purposes. In some cases, simple color changes allow you to recreate a scene more closely to how you remember it in person.
Adjusting colors is difficult if you try to do it manually, but easy if you’re using photo editing software. Keep playing around until you get a color saturation that feels right.
